Из этой статьи вы узнаете, как убрать морщины в "Photoshop". You will need the utmost attention to all the information presented. The program Photoshop today is very popular. And often people know it precisely as a means to improve appearance. After all, "Photoshop" has many tools for this operation. Next, we will examine the question of how to remove wrinkles in Photoshop.
Necessary funds
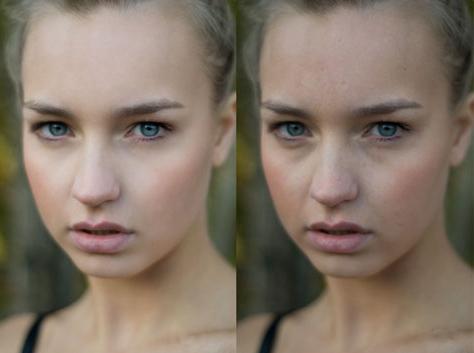
Immediately it should be said that you are not requiredany in-depth knowledge of this graphic editor. This method allows you to quickly remove wrinkles under the eyes. The photo in this case is best chosen with a high expansion. So it will be easier for you to learn. It is recommended that you first practice on other pictures, and then begin editing the original.
Instructions
This instruction is designed for beginners.the program "Photoshop". For beginners, this method is ideal. But if you already have experience in photo retouching, then it may also be useful for you to familiarize yourself with this instruction. Steps:

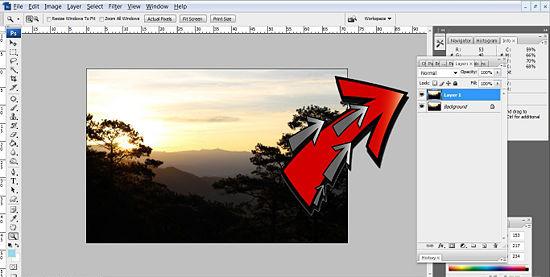
- Add our image to the graphic editor. Create a copy of the background image using the key combination "Ctrl + J".
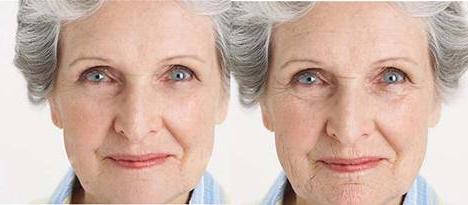
- Further actions are performed on a duplicate.main layer. Select the "Patch" tool ("J" button), put it in the "Source" mode. Select with this tool wrinkles. To do this, left-click (LMB) circle the desired area of the face. Let's release LKM. And once again we direct the pointer to the already selected area, again press the LMB. Without releasing the button, drag this part onto clean skin without wrinkles and other blemishes. Repeat all these actions with a different area of the face.
- Since we consider the wrinkles under the eyes,The second part of the face will be, respectively, the second eye. And the actions will be carried out on a new layer. As a result, when the main work is done, it may seem to you that the face now looks too unnatural. The solution to this problem is the adjustment of the Opacity parameter of each layer separately. It is necessary that the wrinkles slightly appear, then our changes will look realistic.
additional information
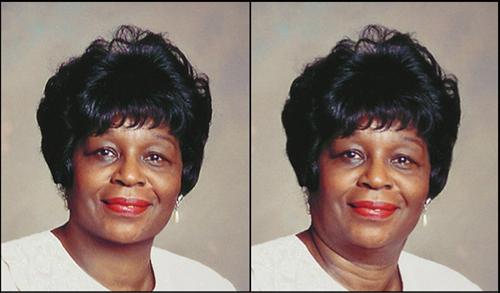
The answer to the question of how to remove wrinkles in"Photoshop" will be incomplete if we do not consider one important problem that may arise in the process of work. When using the Patch tool, a situation may arise when other skin defects (acne, scars) are copied with the skin (where there are no wrinkles). Naturally, we do not need this. Therefore, before work, you need to prepare a photo and remove all these flaws. To this end, it is recommended to use the “Point Healing Brush” tool. Work with this tool should be done on a new empty layer. Or you can use the stamp tool. Anyway, you need to remove all the flaws from the "donor" part of the face using any means. In the photo below you can see the result of the work done and compare it with the original image.

Conclusion
On this article comes to an end.The question of how to remove wrinkles in the "Photoshop" is quite interesting, since it can be approached from different sides. Today you have learned only one way to remove wrinkles under the eyes. But there are still dozens of other methods to solve this problem.