A cape with a hood is a very necessary thing in a child'swardrobe. If you sew it from a moisture-repellent raincoat, an excellent raincoat will come out. Well, if you use a satin or velvet canvas for work, then you will get a wonderful accessory for the New Year's costume of a princess or a prince. In order to create such a product, you will need a pattern. A cape with a hood is built on the basis of flat rectangles and should not cause difficulties even for those who have never sewed anything with their own hands. A little diligence - and an excellent cloakroom will be quickly ready.
Sawing
What are the measures needed to come out suitable forsize pattern? A cape with a hood is built on the basis of measurement from the shoulder to the desired length of the product and the head circumference. For the base of the raincoat, a rectangle is required for a fabric width of 1.2 m or 1.5 and a length equal to the height from the shoulder and to the level of the hem. For the hood you will need two squares with sides corresponding to half the volume of the head +5 cm. Above this detail you will have to work a little more, namely round the corner on the vertex, to the side of the square to narrow the side of the square by 5 cm and lower the slices to the face along the border of joining to the neck on the 3 cm. After all the manipulations, the finished pattern will come out. A cape with a hood can also be with a dart at the neck to shorten the length of the cut at the neck. This method will be needed when using a thick fabric, and for thin raincoat fabrics you can do without hidden protectors.

Section processing
After the pattern is built, the cape withhood is ready for cutting. All sections of the parts after grinding should be processed by an overlock. Also, neat seams will be obtained if they are trimmed with a skew-eye. In extreme cases, you can use the machine line "zigzag". Also for processing perfectly suits the laundry stitch. In this case it will be necessary to give allowances for seams not less than 3 cm. At the perimeter, the cloak should be tucked and adjusted, including the area of the open cuts of the hood.
Assemblage of details
In what order do you need to collect the partsand how to sew a cape with a hood? First of all, you need to lay the bow folds at the neck and fix them, laying a line. Then you need to sew the hood elements and attach it to the base of the cloak. It is also necessary to cut out strips from the fabric and sew them into strings (or use keeper or satin ribbons for this purpose).
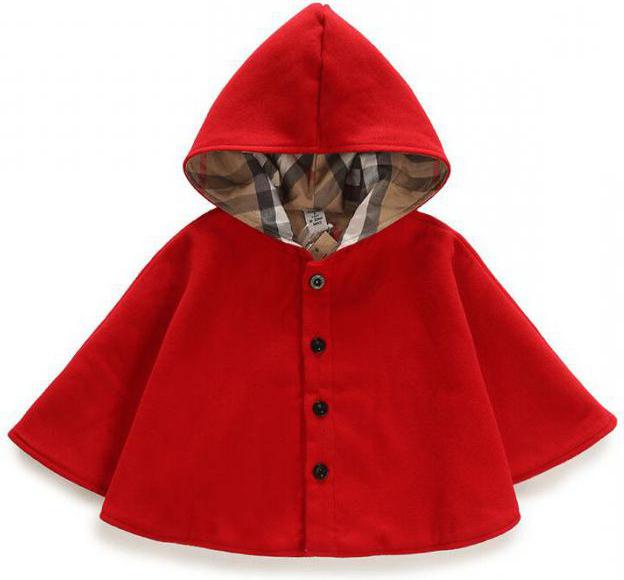
It should be borne in mind that the assembly and processing of slicesare produced gradually and after each grinding the seam processing is required. Thus, the product will come out neat and beautiful. If desired, the front clasp can be made on buttons.