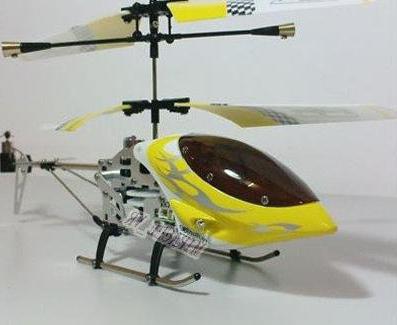
Our century is an age of high technologies, where, withoutelectronics can not be done a single step. This applies to both toys for adults and children. But do not immediately run to the store and buy the most expensive model. Try making a self-made helicopter.

What does it take to build a self-made helicopter on a radio control?
First of all you need a desire and time, but everything else is simple.
All you need is:
- Drawing of the model. It can be found on the Internet.
- The raw material from which you will make a self-made helicopter. Easily suitable for both wood and plastic.
- Instruments. Scissors or jig saw (depending on the source material of the helicopter), nuts and other necessary things.
- Glue.
- Power Supply.
- Remote Control.
To make a self-made helicopter, it will take time and instruction (which, by the way, is quite simple).
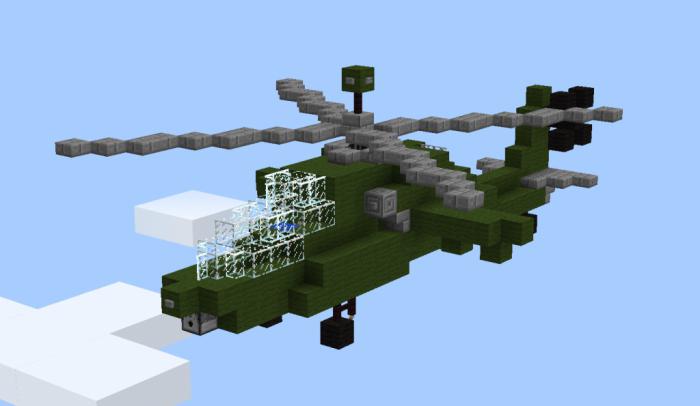
1.We are looking for a drawing of such a model, which we would like to receive in our collection. We overlay templates on the source material, for example, a tree, and cut them out. Want to make a self-made helicopter with windows? Then store in advance a transparent plastic. The size of the windows should be proportional to the cabin, do not make them too large or very small.
2.When all the components are ready, they need to be assembled into a single whole. According to the selected drawing, we collect the model. Somewhere we use glue for assembly, somewhere we use small nuts. As the build progresses, it will be clear which tools should be used.

3.The main part is ready for us, we must give time to dry the glue. But, without losing a minute, you can do the motor. Usually, for this use batteries, whose power is regulated by certain numbers - from 200 to 2000. Here it should be remembered that our motor should not outweigh the helicopter, so it should be located in the middle of the body. To further not disassemble the finished model, we must immediately check our motor for compatibility with the control panel.
4.Now we collect our self-made helicopter completely and launch into the air. Ideally, it should take off and make you happy with the result of the work. If something does not work out, you should pay attention to the following points:
- check the screw and tail;
- check the wiring: they are connected with all the details.
5.When all the problems are fixed and you make sure that your helicopter is working properly, you need to deal with the exterior design of the toy. It can be painted in any color, and you can use stickers. A good solution is to stick to the letters, ostensibly denoting the name of the company.
After everything is done, you can safely use the toy yourself, and you can present it to someone as a gift - there will definitely be no disappointments.