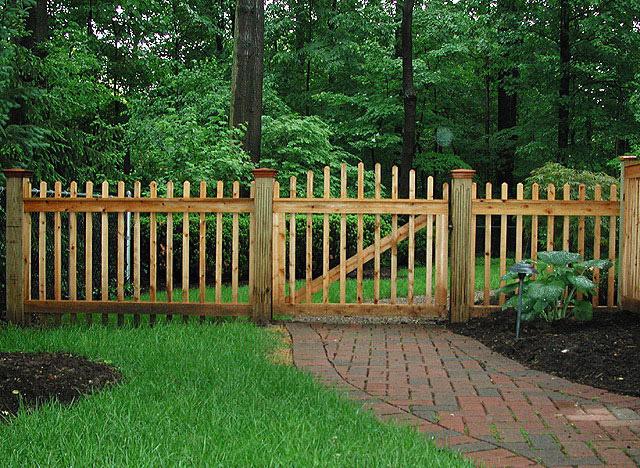
If it is necessary to install the fence, the ownersprivate territories think about the question of how to make an inexpensive and reliable fence. For this, the mesh-netting is perfect. Anyone can do this installation by installing a minimal set of tools.
Adhering to the installation technology and correctly selectingquality material, you can make a fence that will last about 20 years. It is important to ask what types of mesh can be found today. The master needs to study the technology in detail in order to avoid mistakes.
Varieties of mesh-rabitsy
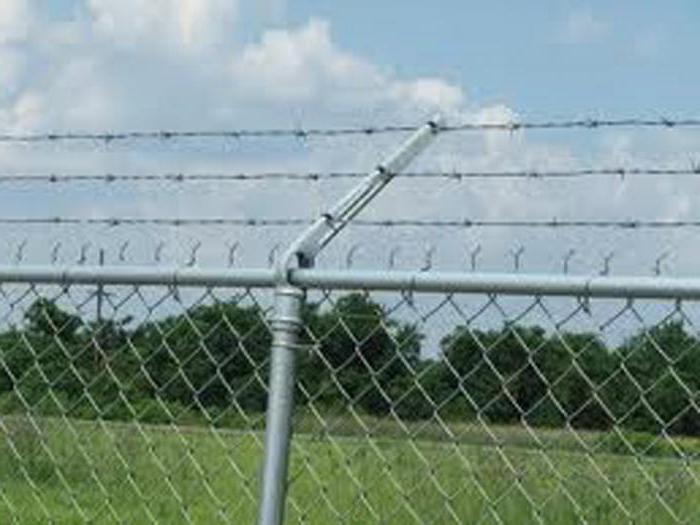
Before pulling the mesh-netting on the fence,it is important to understand its varieties. This material is made of galvanized and black wire, so the quality of the products may vary. The material from the black wire is quite cheap, but is short-lived and eventually becomes rusty, which can happen after the first rain or fog, whereas in 4 years the material can become completely useless.

Extend the service life of galvanized steelcan be covered with liquid rubber or paint. It is necessary to do this before the installation of the canvas, and after that it is necessary to update the protective layer from time to time. Before pulling the mesh-netting on the fence, you should also learn that the material made of non-galvanized steel is not afraid of corrosion, so it's ready to last longer. It costs a little bit more expensive, but does not need processing.
Fences made of galvanized steel lookattractive and tidy. You can also classify the grid by the size of the cells, the height of the roll and the thickness of the wire. As for the cells, they can have dimensions that range from 10 to 65 mm, whereas the wire diameter varies from 1 to 5 mm. The height of the roll can be from 0,8 to 2 m. However, the most popular material is the one whose height is 1.5 m. The standard length of the roll is 10 m. You can purchase rolls of 20 m under the order. The material costs more than the smaller mesh , because it increases the consumption of raw materials.
How to draw a grid: a step-by-step description. Welding of hooks to supports
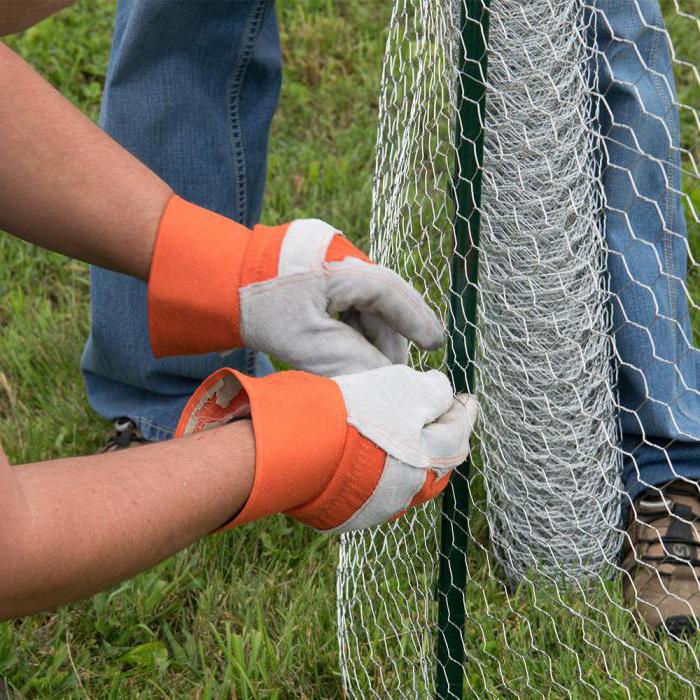
If you are thinking about the question of howpull the mesh-netting on the fence, then it is necessary to start work with the welding of hooks to the supports. When the concrete is condensed, what happens in about a week, you can continue to work. The grid can be fixed with clamps or wire, however it is most convenient to use hooks.

On sale you can find profile pipes withwelded hooks, but if you have a welding machine available, it will be cheaper to make them yourself. To do this, use steel rod pieces, nails, screws or thick wire. Anything that can be welded to the pipe and bent is suitable. Three hooks will need to be installed on a 2 m high support. The distance from the ground of the first hook should be 15 cm. The other will be placed with an indent from the top at 10 cm, while the third one is in the center.
Grid fixing
If you are faced with the task of howpull the mesh-netting on the fence, then the next step should be to fix it. To do this, the roll is installed near the corner support, there it is necessary to unwind the material and put on the hooks of the cell. At the same time, the edge of the grid must be securely fixed. After that, the armature is attached to the pipe and welded. When the roll is tensioned, the mesh will not bend.

When its end is fixed, the roll can bemove to the next support, and then gently unwrap it. With a ledge from the junction of the mesh with the pipe 15 cm into the cell is threaded a steel rod. This time it is not necessary to weld it. It will allow to stretch the grid evenly.
As soon as it is put on the hook, the rodIt is taken out, and the roll is unwound for one more span, now again it is necessary to take the reinforcement. If you are pondering the question of how to properly pull the net-mesh to the fence, then the above scheme should be used until you reach the end of the fence. In order to connect two webs, you should use a wire from the extreme vertical row.
How to avoid sagging the canvas
Even if the grid is able to pull well,time it can hang. Therefore, during the installation phase, it is necessary to take care of the additional fixation of the masonry between the supports. For this, 6 mm wire and a welding machine are used. If you are also one of those who thought about the problem of how to stretch the netting with your own hands, then it is necessary to pass the wire into the second or third rows of cells horizontally. The element should be located along the entire fence.

In those places where the rabitsa will be adjacent toposts, wire must be welded. The lower edge of the slab is strengthened in the same way. At the final stage, the hooks must be folded. The fabric of the fence should be tightly fixed on the supports, while the grid will not sag and sag.
The final stage
Once the fence is ready, you can completefinishing touches. To do this, plastic caps are put on the pipes, the poles are painted, and the upper antennae of the grid twists into 2 turns and bends down. On this one can assume that the installation of the fence is completed.
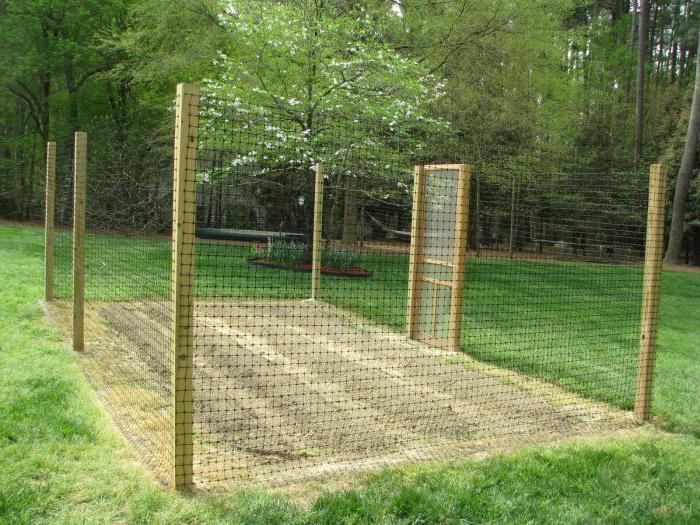
The device of a fence from rabitsa
If you are interested in the device of the fence ofrabbits, it is necessary to know that at the first stage it is necessary to equip sections. For this, poles are mounted. This can be done after cleaning the site from vegetation. The territory is aligned, the master should determine the location of the extreme supports. Pipes for them should have a larger cross-section than intermediate ones. Deepen them need more.
For intermediate supports usually usedsquare shaped tube with a side of 40 mm. But for corner supports it is better to take a pipe whose cross-section is 60 x 40 mm. In addition, they should be longer by 20 cm. If you are faced with the task of how to properly install a fence from a grid-chain-link, then you must clean the pipes from oil stains and scale, prime them and leave to dry. With the help of a hand drill, holes are made in the ground, a pad of sand is poured to the bottom and well compacted. Next, inserted profile pipes, which should be set to level.
Пространство в ямах заполняется щебнем, который must first be mixed with the soil. Filling should be done at 2/3 of the depth. The remaining space is filled with concrete. The vertical of the pillars at this stage should be checked again and leveled if necessary. As soon as the solution hardens, the struts can be removed and proceed to marking under the intermediate posts.
Installation of intermediate supports
Between the corner posts, you should stretch the rope,departing from the ground 15 cm. The line is divided into equal segments, which will correspond to the width of the span. The optimal width for the fence will be 2.5 m. If this parameter is increased, the grid will sag.
How to install correctly, how to pullnetting, you can find out if you read the article. On the site of the pegs, which are installed at the marking stage, one should drill holes for intermediate columns and prepare a pillow for them using the method described above. In order to make it easier to control the upper edge of the supports, you can stretch the rope between the outermost pillars. Now you need to install the pipes, level them vertically and at height, pour soil and rubble, and pour concrete on top and level the surface.
Conclusion
The fence of the mesh chain-link at the dacha will bethe most profitable solution. Such a fence will not obscure the cultivated plants. In addition, it is quite difficult to climb over such a fence, which will allow you to prevent unauthorized persons from entering the territory. It is possible to use such barriers for zoning on the site. Installation can be done independently, which will save.