One of the main design elements is givingHome is a unique style, are windows. Picking the right option, you can make the building more noble and interesting. The most interesting variation is arched windows. They have long prevailed in the architectural directions of different times and peoples. Today, these elements are used not only in private premises, but also in the construction of public buildings.
Varieties
Among the designs of such a plan, it is customary to single out only two main categories. Below are examples of such arched windows, with photos.
Standard

Also sometimes known as "sunny."Extremely popular. They are a construction of a round shape, with knitting needles, remotely resembling the rays of the sun. Most often, such a window is placed in the bathroom door or in the attic.
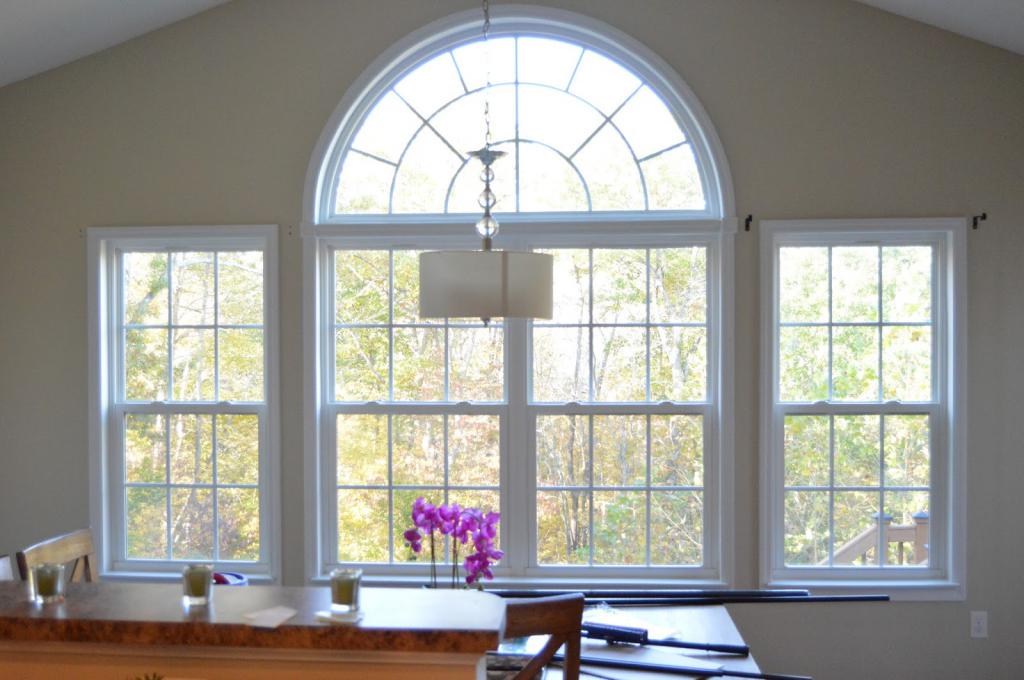
Arched

These windows are a construction withrectangular base and sides, the upper surface of which is made in the form of a semicircle. This variety looks much more harmonious, but at the same time quite difficult to use. Most often found in large buildings.
Materials of manufacture
Today, there are two types of materials from which the production of arched windows.
Plastic
Meet in the following forms and buildings:
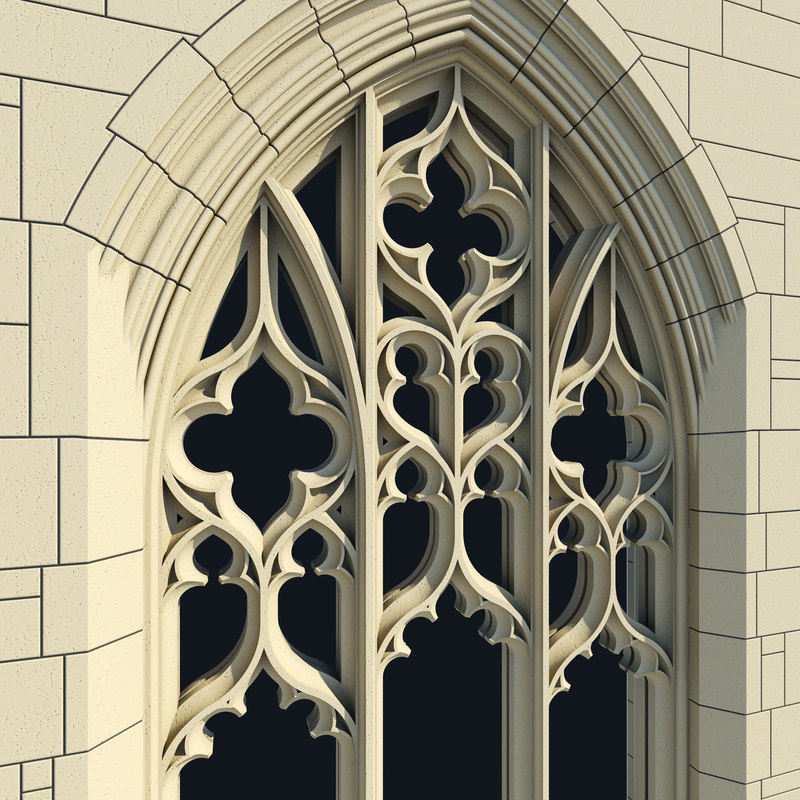
- Moorish. Externally similar to a horseshoe.
- Pointy. Most often installed on the cathedrals, made in the Gothic style.
- Semi-circular. Used to decorate Orthodox churches.
According to the method of work are divided into:
- deaf;
- opening
Such designs have a large set of various colors and variations of finishes. Until the repetition of the structure of the tree.
Wooden arched windows
They are divided into the following forms:
- truncated;
- circular, with full radius;
- pointed;
- with two radii.
Most often, such designs are made from:
- oak;
- larch;
- pines.
According to the principle of work are divided into:
- folding;
- rotary;
- rotary and folding.
Benefits

When using these structures, you can highlight such positive qualities as:
- Design feature. Arched windows give the building a unique look and elegance.
- Due to their size, they can visually enlarge a small room.
- These windows are strong enough and can last a long time.
- Fittings of high quality allows you to perform different components of decoration.
- In the event that the structure is made of wood, it will be distinguished by a high level of environmental safety.
- When installing this design, you can use any mechanism for opening shutters.
disadvantages
The disadvantages, of course, not so much. But at the same time, they are significant:
- There are few specialists on the market today who are able to carry out work on the creation and installation of such windows;
- therefore, the cost of such structures is much higher than standard ones.
What needs to be measured?
When selecting the size of the arched window, consider the following values:
- base width of the window;
- width of the structure at the level of the middle;
- width at the level of the upper arch;
- height of the beginning of the arch;
- middle height;
- total height of the window.
How to make an arched window with your own hands?
This process is quite costly andof time. And yet imagine the situation that you did not pick up the desired design and decided to make the window arch yourself. In this case, you must strictly follow the instructions below to get a result that justifies the resources allocated to it.
THE NOTE!It is worth noting that this manual is suitable for novice masters. Despite the fact that the manufacture of such a design is practically of no financial interest, knowledge of its creation is an important skill for every professional.
Template preparation
The best material to create the intendedForms will be plywood about 5 millimeters thick. A further way to create an arch implies the presence of several layers, and therefore it is recommended to make a sketch of each of them.
Creature
The thickness of the profile bar of the arched window consists of three layers. Each of them has the same height of 26 millimeters, but differs in width:
- the first is 52 millimeters;
- the second is 62 millimeters;
- the third is 78 millimeters.
Step number 1
After making the plate for each layer, you can proceed to gluing the arch. Each lamella (plate) is fixed end. In this case, it is worth using the methods: “plug-in thorn” or “micro-bearing”
Step number 2
Process each blank, following the order of the layers specified above.
Step number 3
Using the router, make a fold (connecting seam) in the required places.
Step number 4
Using glue and a vice, fasten all the elements.
Step number 5
Repeating these steps, make the opening sash for transom (arched design).
Step number 6
Combine the end of the arch elements with other parts of the window horizontally and vertically. For this you can use thorns.
How to install the arched block yourself?

Step number 1
Apply the markup that will be used for cutting the outer skin. At the end of the procedure, make a fitting of the window block to the opening.
Step number 2
In that case, if the block is standing correctly, make a contour on the front side of the outer skin. Pull out the block.
Step number 3
To make an opening, according to designations.
Step number 4
Using roofing material, cut a strip, widthwhich does not exceed 20 centimeters. The edge of the finished design to slide between the outer and inner lining. Bend the protruding part, fastening brackets around the perimeter of the opening, from the inside.
Step number 5
Install plastic drips on the outside.
Step number 6
Place the window block in the doorway, tightly pressed to the casing. Check the accuracy of the installation using the level.
Step number 7
Adjust the position of the block, nailing the lower and upper parts.
Step number 8
Using gaskets to fix the designinside the opening. To do this, they must be installed in the slots formed between the frame and the window, as well as the doorposts and the connecting bolt. When placing observe a distance of 30 centimeters.
Attention! Gaskets should be installed tightly, but without additional effort. Otherwise, structural deformation may occur.
Step number 9
Use level to verify correctness.block installation. In case of deviations, adjust by installing additional gaskets. Check the flaps. To make sure that there are no displacements during their opening and closing, and the process itself does not cause difficulties.
Step number 10
Drill a hole through the window frame side through each gasket. Drive 70 mm nails into the joint.
Step 11
Using mineral wool, remove the remaining spaces between the doorposts and the window unit.
Attention! When working with this substance, use protective glasses and gloves!
Step number 12
Trim the protruding parts of each gasket.
Step 13
Use galvanized nails to nail the window block from the outside. When working, observe a step of 30 centimeters. Avoid sticking out hats.
Step number 14
Fill the gaps between the outer skin and the window unit with silicone sealant. The cavities formed when hammering nails should be putty.
Outcomes
Ознакомившись с данным материалом, вы узнали о types of arched windows, their advantages, disadvantages, method of creation and installation. And they must have discovered something new for themselves. But nevertheless, despite the rather accurate step-by-step instructions, we strongly recommend that you contact specialists for all necessary work.
Without special training and knowledge, you can not only damage the structure, but also get injured!


