"Minecraft" - the word embodying the currentgeneration. Like the classic and nostalgic game "Doom", attracted all the attention of gamers in the dashing 90's, this project enjoys a similar demand, but only at the present time. Today, the reader will learn how to put the skin into "Minecraft", but first, a little about the game itself. The game was widely spread due to its unlike the other gameplay, revealing to the user a huge opportunity to interact with the interactive world.


Quick and easy
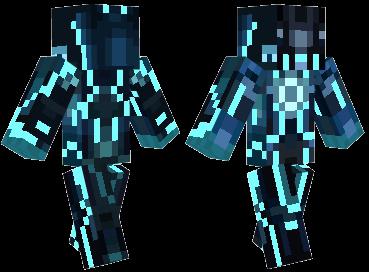
This process does not cause serious difficulties,if you know where to go and what to open. The first step is to understand what skin you want to install on your favorite "Minecraft". To date, their diversity is truly great and multivariate. The skins in "MaInkraft" are a file with the image of the format ".PNG", which can be found on many sites, to some extent dedicated to this game. There is a rather large number of Russian-language sites that incorporate a lot of mods and visual design. How to put a skin in "Minecraft"? The first thing you need to download it. I think problems with this action should not arise. Just find the site you like, select the most attractive skin on it and click the "Download" button. After that, a window will appear that prompts you to select the destination of the file to be saved. Successfully doing this operation, you can proceed to directly replace the standard skin with a more fresh and bright one. To do this, go to the start and pay attention to the search line, enter the following there: "% Appdata%" (without quotes). Press the "Enter" key. A window with a lot of folders will open, select the topmost one called ".minecraft" and open it. So we found ourselves in the root folder of the game, which is fundamental to any process related to changing the game. Here is the necessary to us daddy "bin", in which lies the treasured archive "minecraft.jar". It needs to be opened using the WInRaR archiver. Again, you can download it from almost any website dedicated to programs and utilities for PC.